When I first started researching how to start a travel blog I encountered a lot of articles that had a lot of “fluff” and not a lot of straight answers. So here’s the No B.S. Guide of How To Start A Travel Blog in 9 Simple Steps!
If you don’t have time to set up your blog today, save this article to your Pinterest Board so you can come back to it later!
1. Define your Niche
A lot of guides about “How To Start A Travel Blog” will begin with saying that you should first pick your brand name. Wrong! First, decide what your travel blog will focus on. Then you can pick your brand name as it will be easier after defining your niche.
What is the definition of niche in the travel blogging world? According to Urban Dictionary, niche is “an area of the market specializing in one type of product or service.”
The better defined niche that you have, the better able you are able to capture an audience, gain traffic, and ultimately get paid to be a travel blogger!
Questions you should ask yourself-
- What am I passionate about?
- What are my skills, strengths, interests, and expertise? Or better yet, what do I want to be in expert in? You don’t have to start out knowing it all.
- Can I write about this topic for a while? The niche shouldn’t be too broad that your audience never knows whats coming. On the other hand, it shouldn’t be too narrow that you won’t be able produce content.
Niches you can choose from-
- City blogging: Focused on your particular city! Nina from Nina Near and Far has done an excellent job defining her niche and producing a lot of content for Ottawa and nearby cities.
- Country-focused: Destinations around the country. Part Time Tourists is our U.S. based travel blog where we focus primarily on the fifty states. Not saying that we don’t have a few other articles from other countries, but our audience knows we primarily write about the United States.
- Budget travel– My good friends at Happily Ever Travels have done an excellent job developing their niche as budget travelers and have gained a loyal following.
- Luxury travel– Carmen from Carmen’s Luxury Travel has niched down and focuses on luxury travel destinations, hotels, and other luxury travel partners.
- Solo travel– Amanda from A Dangerous Business has a whole section of her site dedicated to solo travel. Where to go, how to do it, safety tips, etc are included.
- Female travel– Liz from the Young Adventuress helps other solo female travelers accomplish their dreams by discovering the world!
- Bleisure Travel– This new travel trend is somewhat new and I haven’t been able to find a blogger that specializes in this business + leisure travel niche. This may be the one for you!
- Adventure/outdoor travel– In addition to our country-focused blog, we also have niched down even further and tried to focus our articles on adventure & outdoor travel.
- Family travel– The Wandermust travel blog has done an excellent job at defining who their audience is and writing content that is curated just for them.
- Empty nesters/traveling for seniors– Adventures of Empty Nesters have done an incredible job defining their niche and consequently developed a brand that many love.
- Traveling with disabilities/illness– Carrie-Ann from Carrie Ann Lightly has done a phenomenal job at defining her niche and ensuring her audience knows that traveling is for everyone!
- Created a new niche that people haven’t heard before! The internet loves original ideas.
2. Pick Your Brand Name
Now after you have picked your niche, it’s time to choose a brand name! Do not rush this very important step. Why? Your name is really hard to change after time so pick one that you’ll love throughout the years. In fact, this is one of the ten mistakes I made during my first year of blogging.
#1 Tip For Choosing a Good Brand Name-
Keep your blog name EVERGREEN. What does evergreen mean? It means that it will be great in all seasons, years, and time periods of your life.
For example, I played around with using a name that had “newlyweds” or “couple” in it but realized at some point, we did want to have a family and would love to also bring the kids along on the trips.
Avoid dates, current ages, the city that you live in (unless you are going to be that specific city blogger), etc. Anything that can change. Keep it as evergreen as possible.
3. Choose your Hosting Provider
You need a hosting provider if you are going to have a blog. Simple as that. Web hosting enables your website to actually be on the internet. Basically, it’s renting out space on a server where you can store all your awesome content you’re going to create!
I cannot say enough good things about Bluehost (use this link to get the promotional $3.95 price instead of $7.99.) Their prices are one of the cheapest options (trust me, I shopped around) and their customer service deserves an A+. The best part? You’ll receive your domain name (your website URL) absolutely FREE!
The Step-by-Step Process-
1st Step– Head over to Bluehost.com
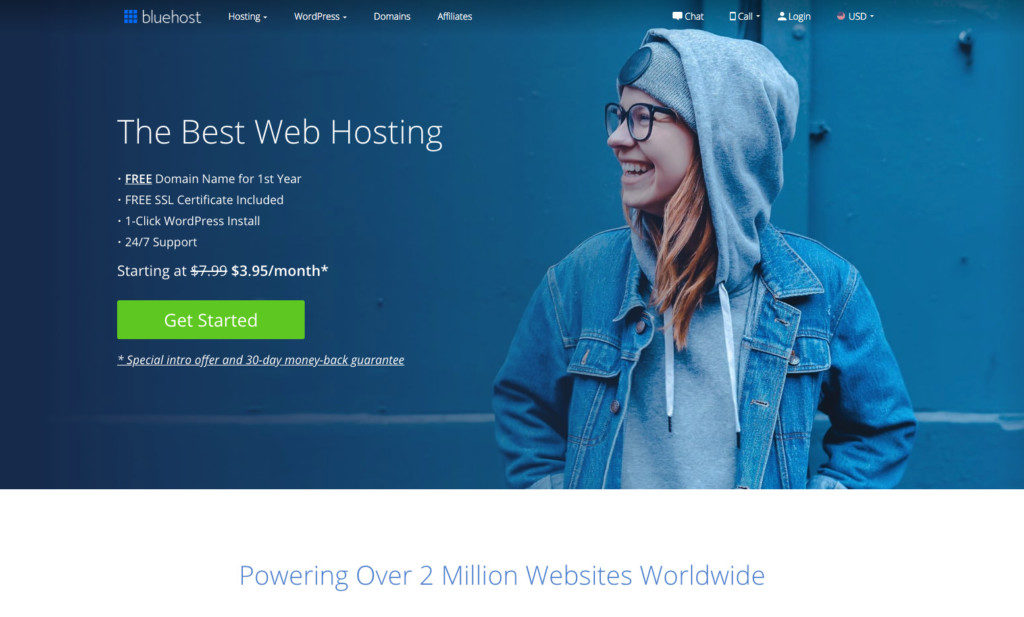
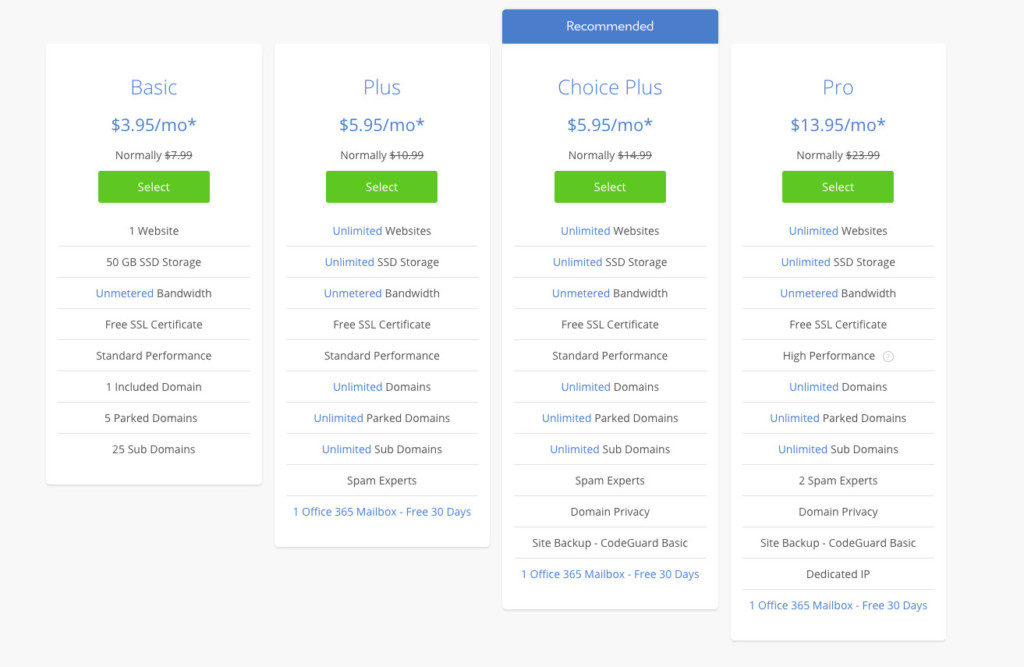
2nd Step– Choose which plan best fits your needs. If you’re just getting started, you can totally begin with the basic and upgrade later! It’s only $3.95 (steal of a deal!) and I just pay for the full year up front, but you don’t have to.
3rd Step– If you already bought your domain name, enter it on the right. However, Bluehost gives this to you for free so don’t worry about buying one beforehand. Enter it on the left hand side and then click next! *Double-check that there are no spelling errors*

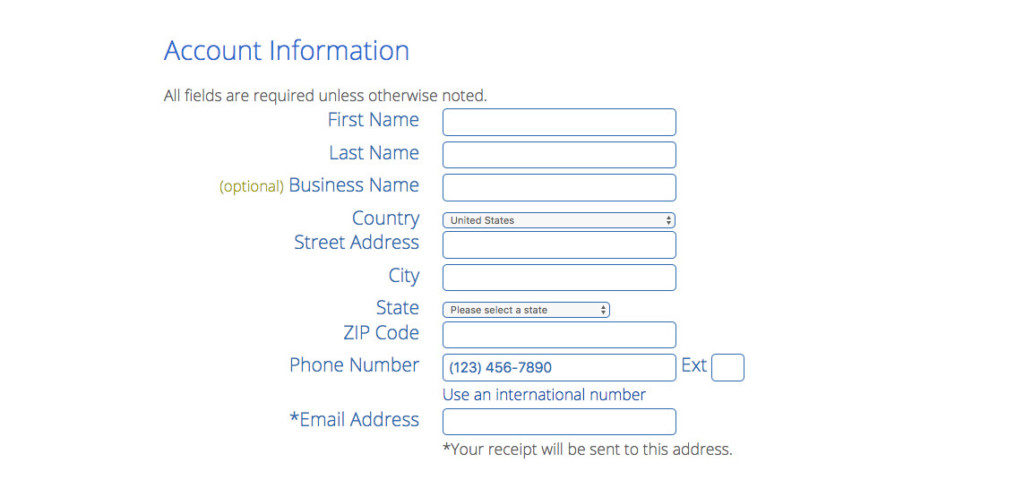
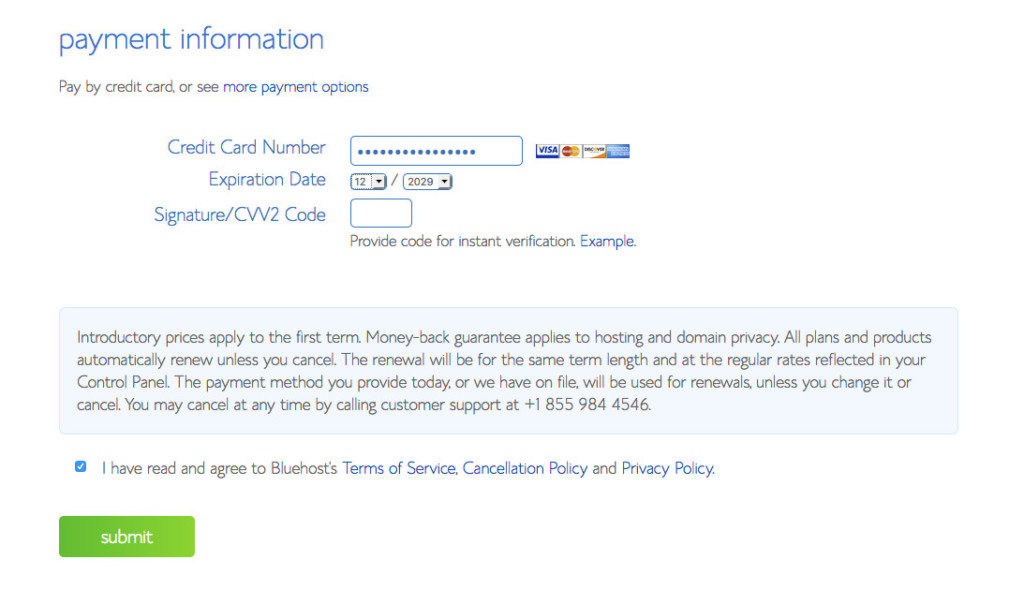
4th step- On the next screen, fill in your account information and then your payment information.
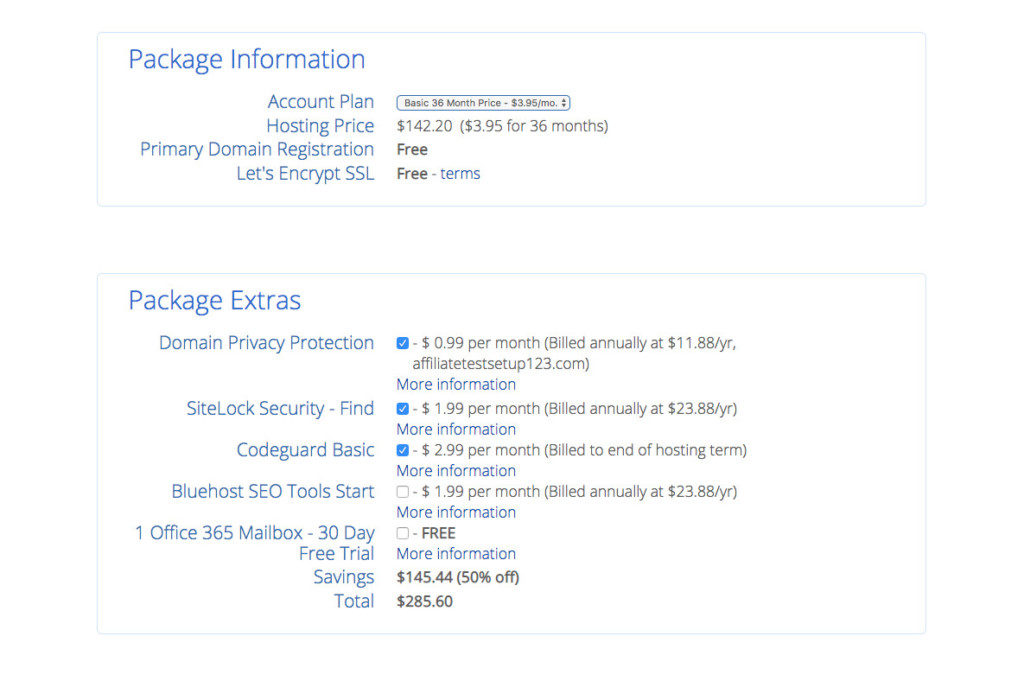
5th step- Next step is to choose your package information. I personally did not start out with any of the package extras but feel free to try them out!
This is the part that is scary for some individuals. Like myself, I thought, “maybe I’ll just get a free wix site and not pay for a real website”. Don’t do that. If you really want to jump into the blogging world, you will need to invest a small amount if you want it to be successful.
I’m so glad I decided to invest in Part Time Tourists because it has brought me so many amazing opportunities and compensation that I would have never thought possible!
6th step– The last step on setting up your Bluehost account is choosing your account password!
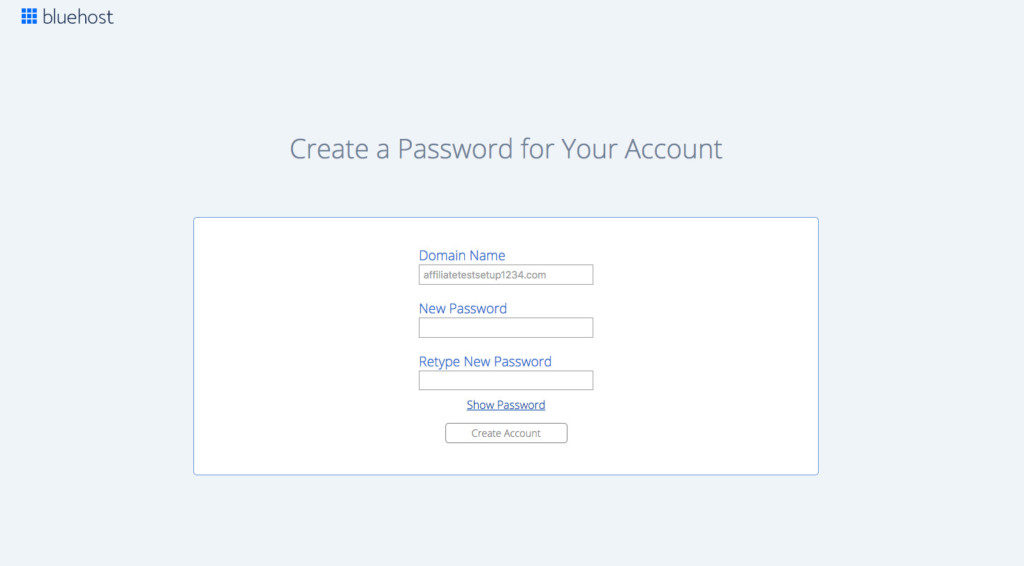

4. Set-Up & Install WordPress
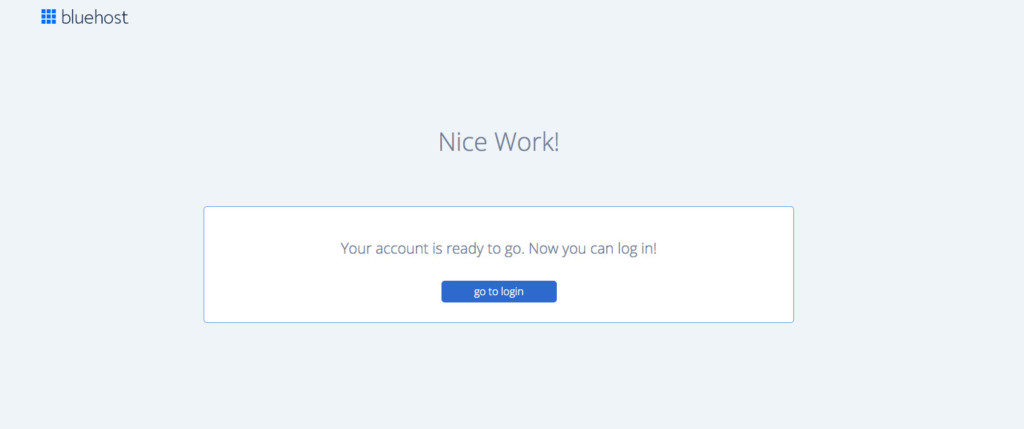
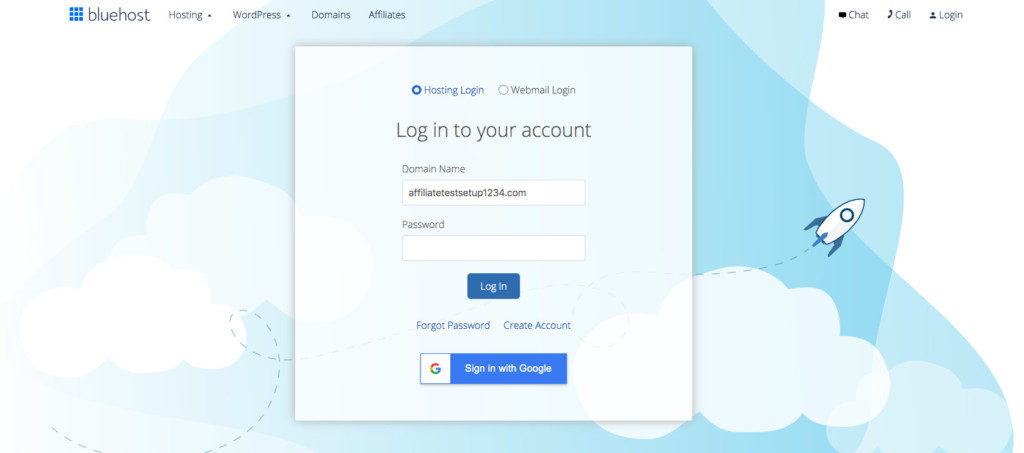
Now that you’ve signed up for hosting, it’s time to install WordPress. After finishing your Bluehost purchase, you’ll then get to decide your password for WordPress.
Next you’ll name your site, create a tagline, and make sure you turn on that “Do you want a blog?” button.
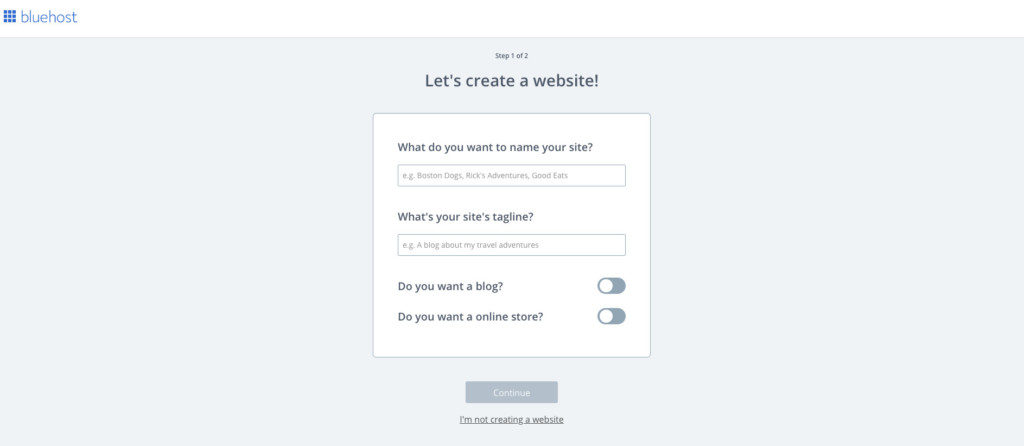
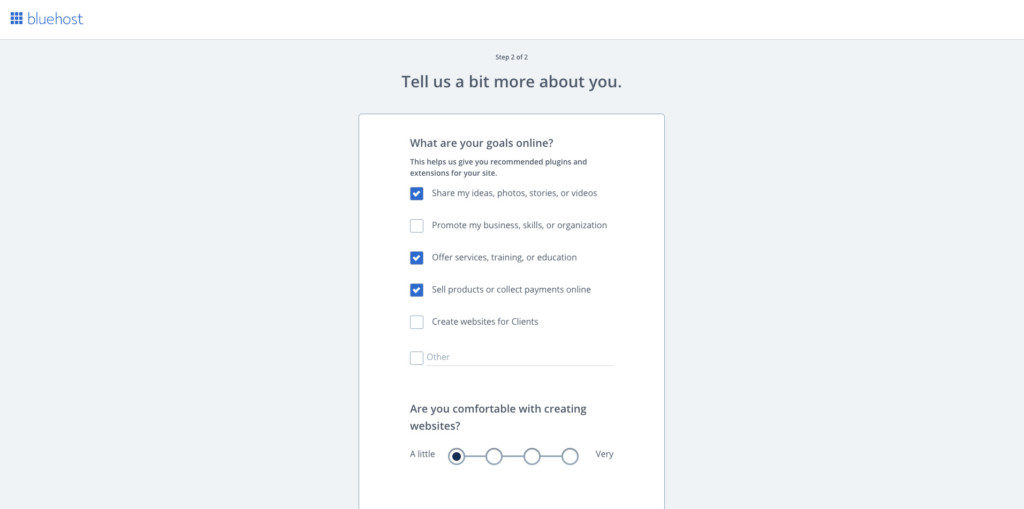
Next you’ll give Bluehost a little more information so they can know how best to help you.
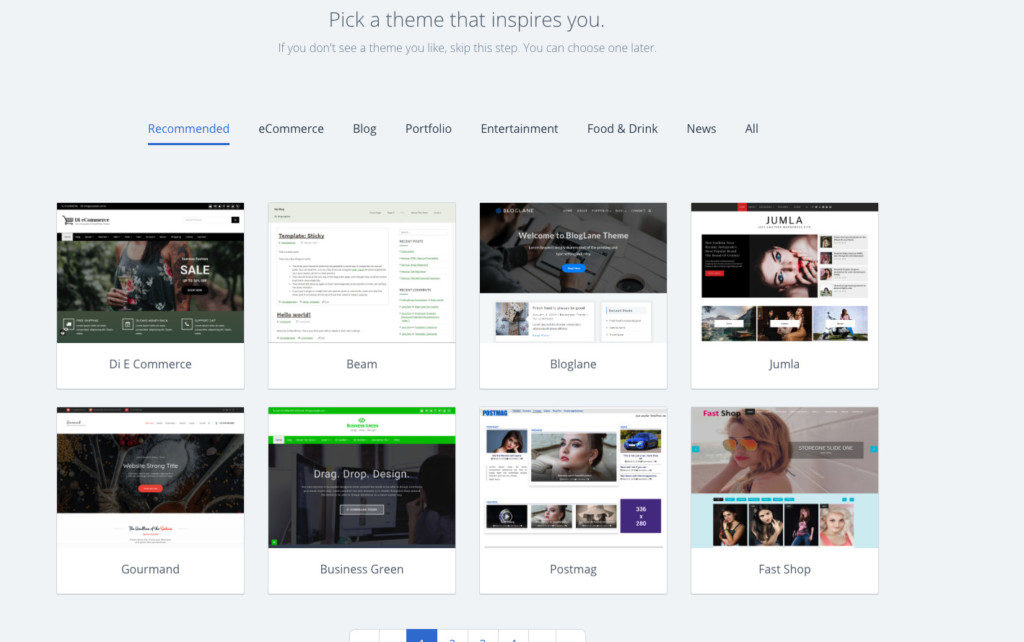
5. Pick a Theme for your website
Bluehost will then ask you to pick a theme (this is the fun part!) But don’t get too overwhelmed, you can easily change your theme or buy a theme later down the road.
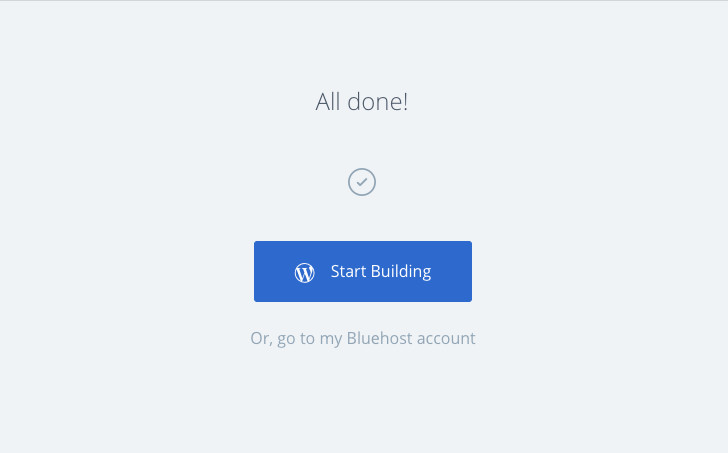
And after that, you are all set up and ready to go!
7. Create Your Main Pages
Now it’s time to set up your main pages. Head to http://yourdomainname.com/wp-admin and then sign in and you’ll see this screen:
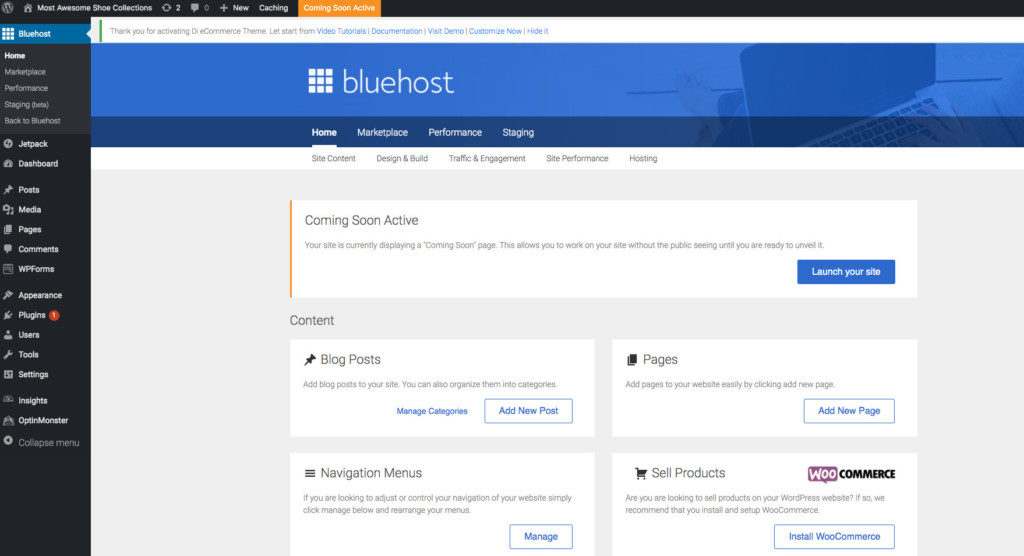
That screen you now see is your WordPress dashboard and this is where you go to create awesome content!
Down the left-hand side are buttons to all the most important links. These include Posts, Pages, Comments, Appearance, Plugins, and Settings.
My main pages on my travel blog include Home, Meet Us, Freebie Library, Destinations, Contact, & Work With Us.
This is the part where a lot of people start to freak out. Take a moment and just realize that you don’t have to learn all of it in a day. Blogging is a process.
6. Download These Essential Plugins
Plugins expand the functionality of your website. But they are not like Pokemon where you got to catch them all. In fact, having too many plugins can slow down your website. So which ones are the important plugins for travel bloggers to have?
404page- You are bound to have broken links at some point so instead of someone clicking on your link and getting directed to the typical “404 Error Page” it will direct them to a custom page of your choosing. I direct my lost traffic to this destination page.
Akismet: This plugin gets rid of spammy comments! It doesn’t prevent 100& of them, but it sure does a dang good job at catching at least 90% of them. This is an essential plugin to download.
Easy Table of Contents- People have short attention spans and if they are looking for a specific piece of information in your article, they need to find it quickly or they will bounce. Check out my Table of Contents at the top of this post to see an example.
Imsnaity– This plugin automatically resizes images when you upload them. If you use a camera, chances are the images you upload will be much too big for a computer/phone screen and consequently, will slow your website down.
Smush- Once you install Imsanity and your images have been resized, you’ll need to optimize them. Basically, resizing is shrinking the physical size, while optimizing is stripping the coding to make the photo size smaller. This helps your website run even faster. You can typically smush your images up to 50% without losing any image quality!
*Personal Story*- Before installing Imsanity and Smush, the average load page time on my website was 13 seconds! Way to long for the average viewer. After installing this plugin along with Smush, my load page time dropped to 2-3 seconds!
Social Media and Share Icons- Make it easy for people to share your articles by adding this plugin to your website! I enable the Facebook, Pinterest, Twitter function on this plugin.
Interactive World Maps: Have you seen my interactive app on my destination page? You’ll find an example of what they maps looks like and why they can be so valuable to your audience!
Yoast SEO: This is a MUST-HAVE Plugin. You may not understand everything about Yoast SEO right away, but it will help out a ton later down the road when you start learning about SEO strategies (ways to make your site more google friendly).
Pinterest Pin It Button– Pinterest can be your best friend as a travel blogger! Download this plugin so you can enable your audience to either hover over or click on an image and pin it directly to one of their boards. This will help increase your website traffic guaranteed.
8. Write Your First Blog Post
After you’ve created your main pages, it’s time to sit down and write your first blog post! I didn’t do this but I would recommend (now knowing what I know now) to create your first blog about you! Write about yourself, what you plan on blogging about, etc. Let your audience get to know you and learn what they can expect from your blog.
9. Set-up Social Media Accounts on Other Platforms
Platforms that are essential to use as a travel blogger in my opinion are Facebook, Instagram, Pinterest, and Twitter. (Those are all linked to my accounts if you want to check them out).
Those are the top four that bring in traffic to my website. There are plenty of other social media channels out there but I would start with those four and the expand later if you want to. This step is another mistake I made in my first year of blogging that I regret not doing earlier!
Pro Tip- Make sure you ensure ahead of time that your brand name is not taken on other key platforms.
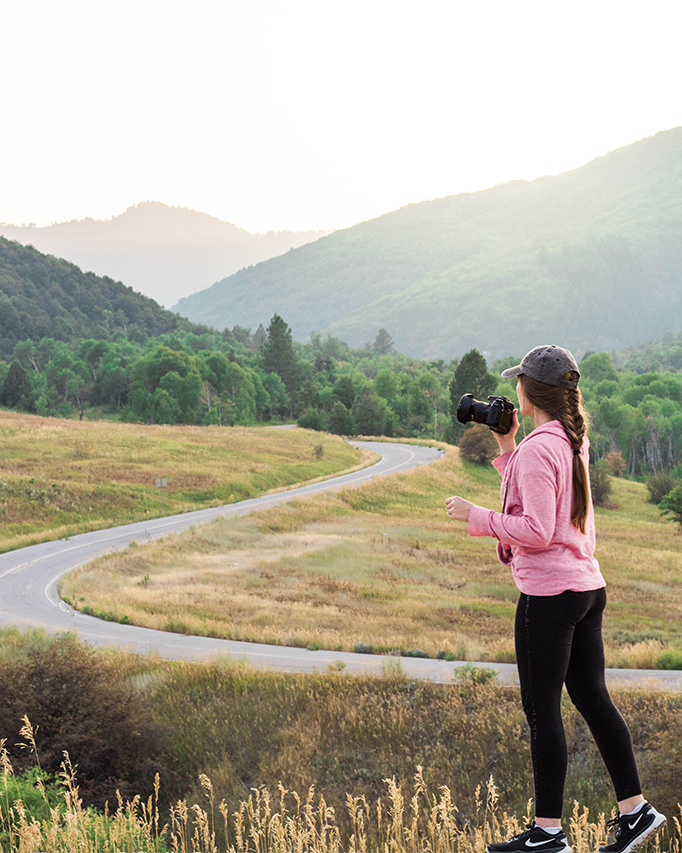
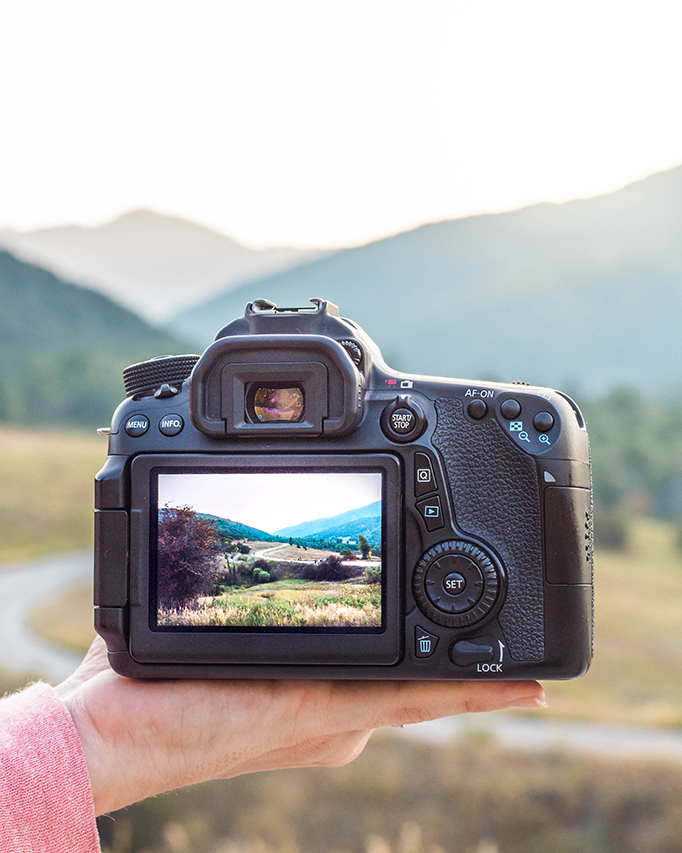
*Bonus Step* Get Essential Travel Blogging Gear
Let’s face it, you need to have a basic understanding of photography in order to succeed in the travel blogging business IMHO. I am in no means saying that you need the most expensive gear or hours and hours of extensive classes.
But you need to know at least the basics (youtube is amazing for this). Most people are visual and they want to see pictures along with reading about your travels! Check out my Affordable Guide to the Best Camera Gear For Travel Photography.
Good Reads- Be sure to check out additional articles about Travel Photography on that page. I explain easy ways to take couple pictures by yourself or why you don’t need an instagram husband to get amazing travel photos!
You can totally join the club! Sign up for my weekly email where I share exclusive tips, tricks, and secrets of everything that I’ve learned in the travel blogging industry!
Pin for later!